Here Comes the Sun

By Sarah Terry
Well, I am thrilled to report that the first session of our inaugural Maker Club at Woodman Park Elementary went wonderfully! It was so much fun, the kids are a blast to work with, and by the end of the hour, we had ten working Artbots bumping their ways around the room! One of our second grade students told her teacher afterwards, “You know, I never thought I would ever make a robot... and then I did!”
We had three-legged ArtBots, four-legged ArtBots, double ArtBots, BotBots (bots without marker legs, of course!), and more! It was quite the buzzy creative party!
And there's only one way for a Maker Club to celebrate this success... by making more stuff!
 Our next hands-on project involves one of my favorite ways to combine art and science – photography! I'm probably on the edge of the last generation that remembers using film cameras. I was just getting old enough to learn how to load the film myself when digital cameras became popular and quickly took hold of the market. Digital cameras are fascinating in their own right and have made photography more accessible than ever, but my mother is a photographer and I'll always have a soft spot for film... and the chemistry you can learn by understanding how it works!
There are many types of film that use different chemicals to capture different colors of light, but we're going to be working with cyanotypes!
Cyanotypes, sometimes called sun prints, were invented in 1842 by Sir John Herschel. Does that name sound familiar? Herschel's father William is the man who discovered Uranus! John Herschel continued his father's work in astronomy – he named seven of the moons of Saturn, and four moons of Uranus – but he also made large contributions to the field of photography.
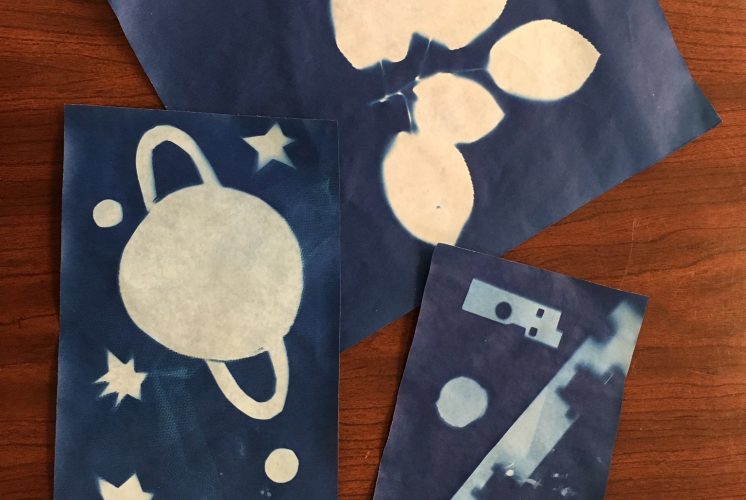
Cyanotypes were originally used to reproduce notes and diagrams (their bright color is where we get the term blueprint from!). The first person to use the process to make photographs was Anna Atkins, an English botanist and friend of John Herschel. She is considered by some to be the first female photographer! She used the process to document different kinds of algae and seaweed, and published a book called (fittingly), Photographs of British Algae: Cyanotype Impressions. Technically, what Atkins created were photograms. Photograms are made by contact printing – she put pieces of algae directly on the paper and exposed it to create her images!
We're going to be making some photograms of our own today!
Now, I bought already-treated cyanotype paper film, but you can actually make the film yourself! This process involves chemicals, so you'd want to make sure you have goggles, gloves, a mask and a well-ventilated area to work in! This article documents the process, and the supplies you'd need.
Materials:
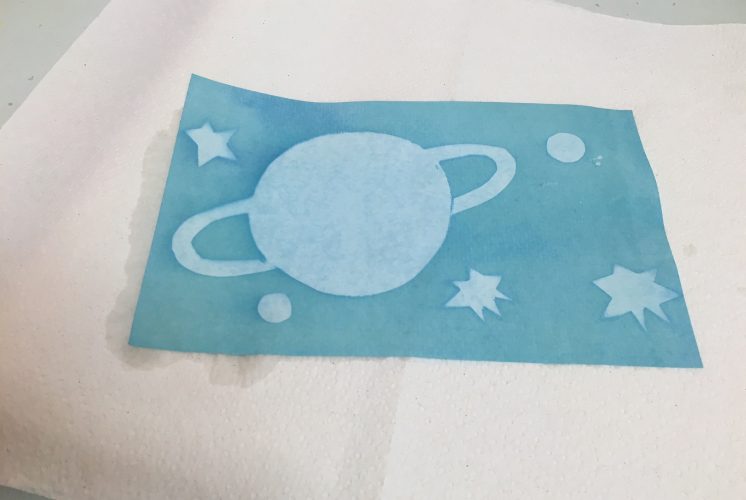
- Sunprint paper
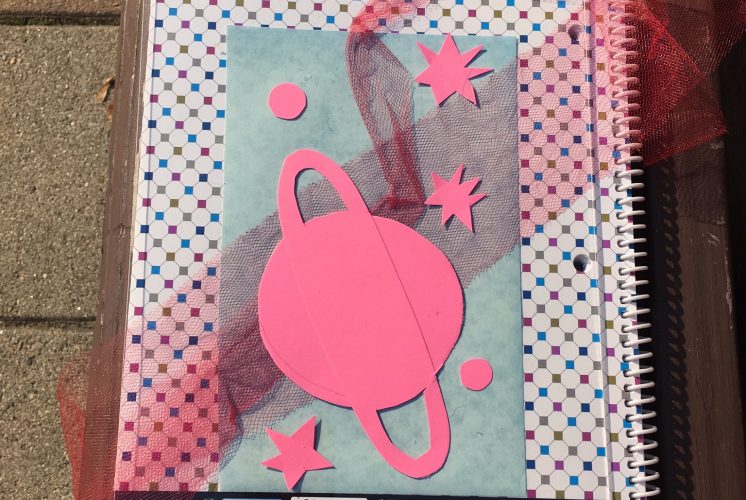
- Supplies to make your image. Now this could be all kinds of materials – I cut designs out of paper, and used some mesh, but you can use leaves, shells, Legos, anything you think has a cool outline!
- Plexiglass sheet
- Plastic bin
- Vinegar (or lemon juice!)
- Water
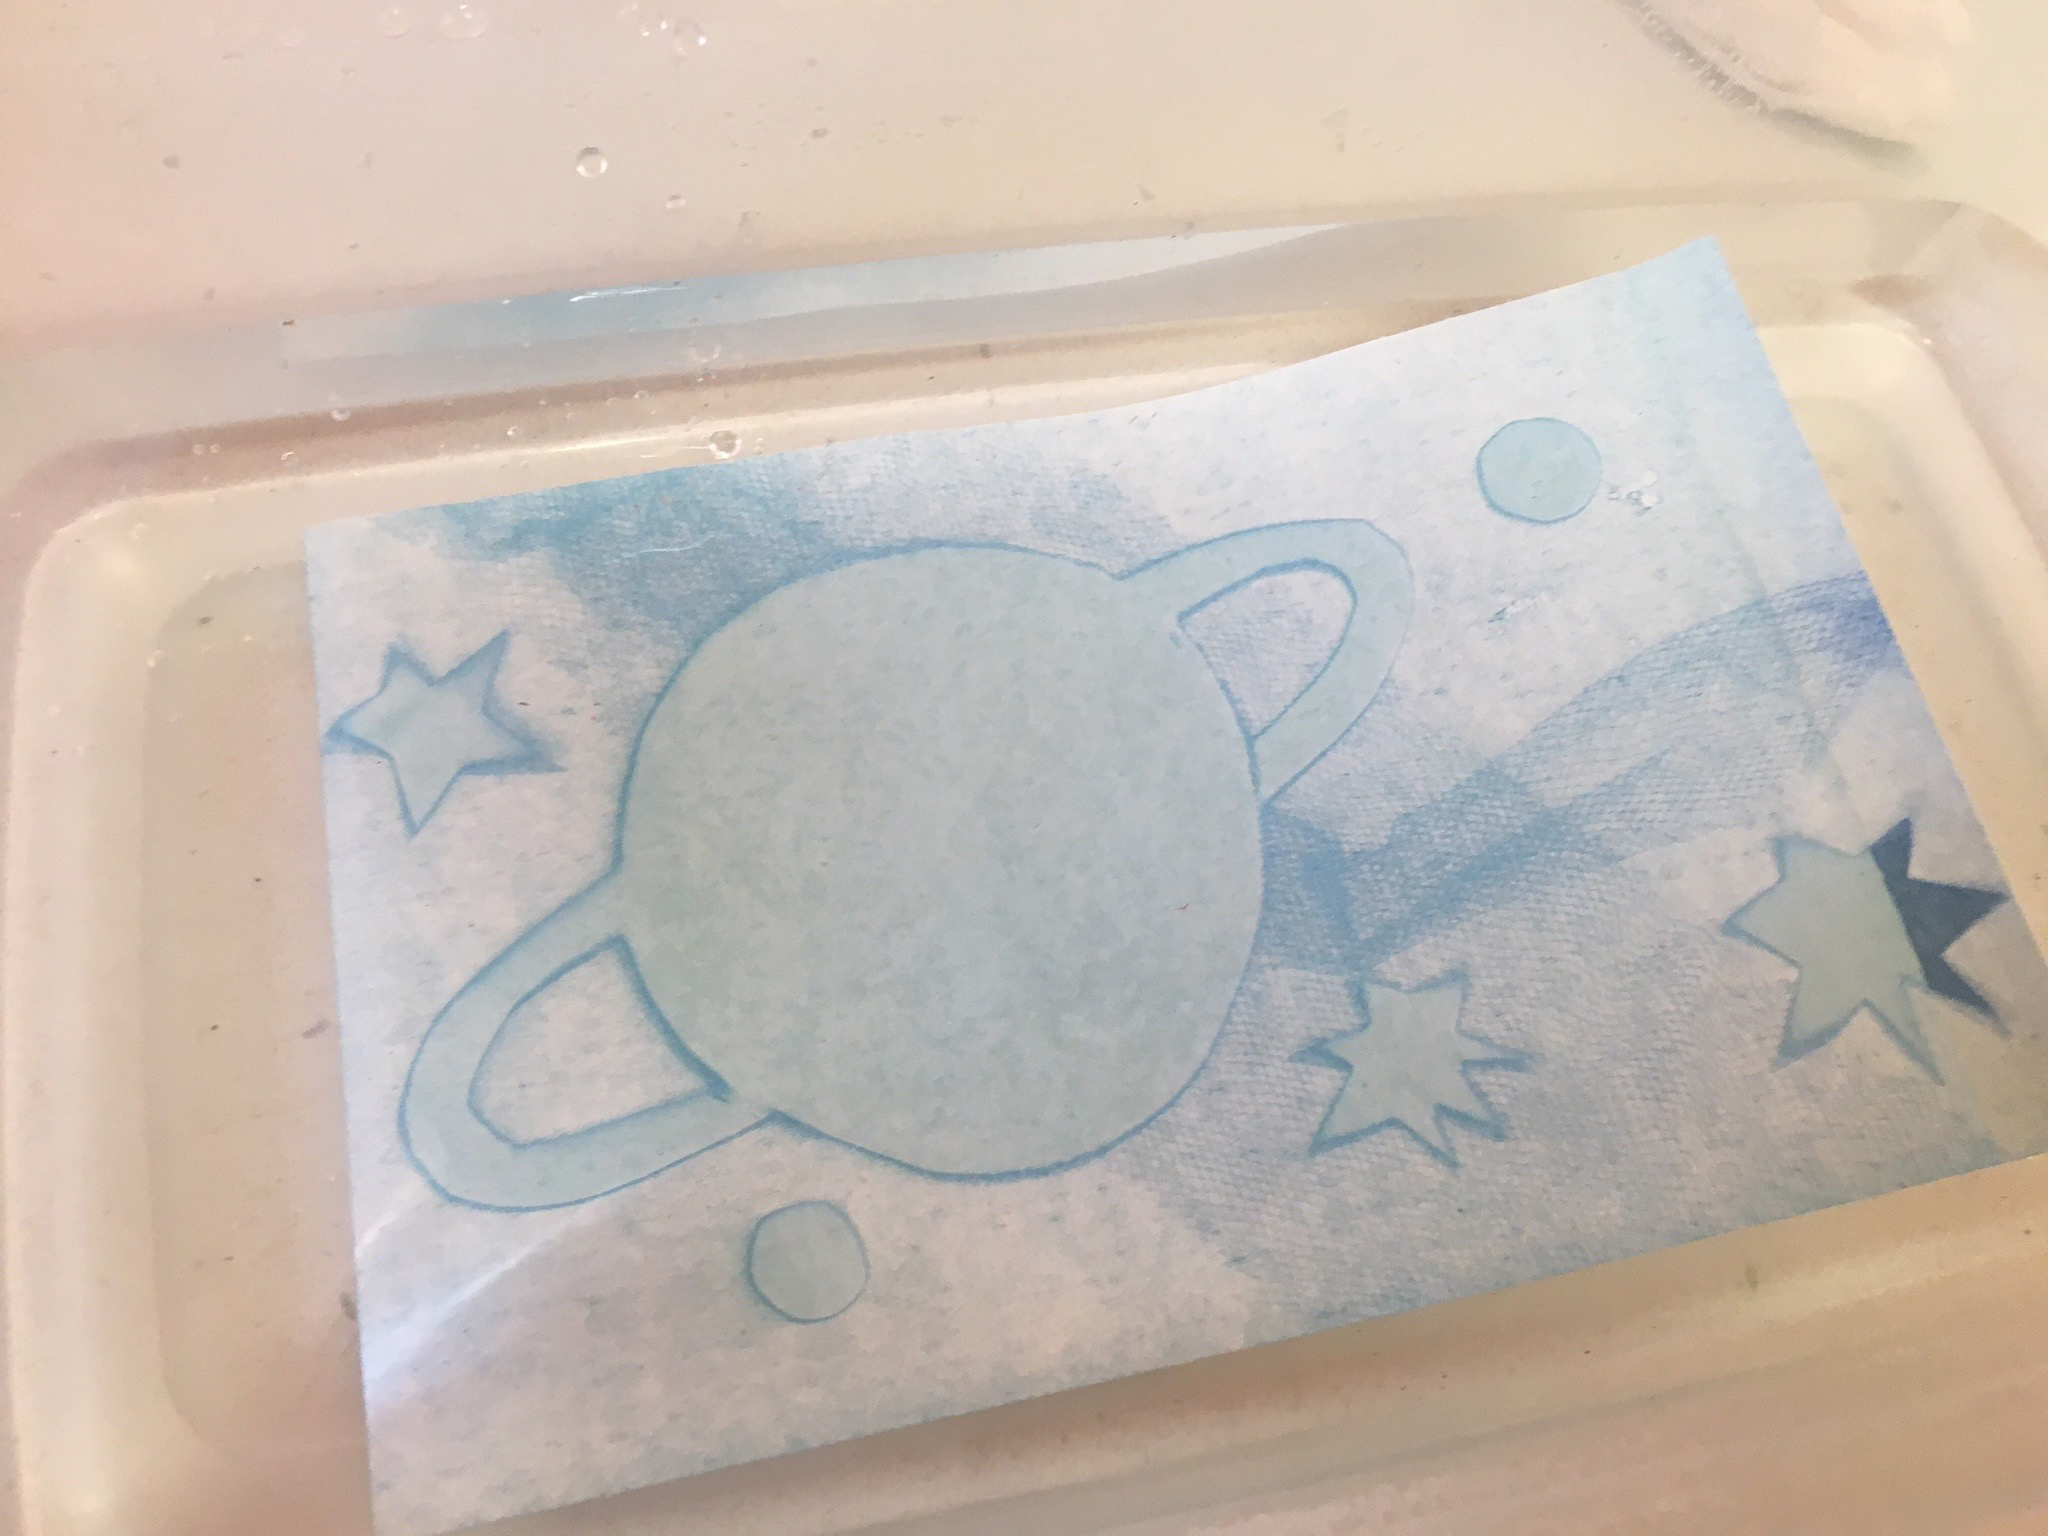
Now cyanotypes are made through a chemical reaction with UV or ultraviolet light! The chemicals in the paper – ammonium iron (iii) citrate and potassium ferricyanide – react with UV light to create an insoluble blue dye! Then you develop the film in water and a little vinegar, and your print is finished!
To begin, make sure that you are in a room where sunlight can't reach you! You don't want any UV light to touch your print before you're ready. Luckily, indoor lights aren't powerful enough to produce ultraviolet light, so you don't need to work in a darkroom, like you would for ordinary film.
Get the complete step-by-step instructions here in a handy dandy printable PDF
Check out this video to see the process in action!