The Museum Blog
Category: Family Learning
CMNH to Host 12th Annual NH Maker Fest
Makers of all kinds take over museum exhibits for a day of discovery
This year's annual NH Maker Fest, organized and hosted by the Children's Museum of New Hampshire in downtown Dover, on Saturday, June 1, 10am-3pm, will feature a Rube Goldberg machine expert, bug motels and seed balls, a marimba petting zoo, roaming robots and dinosaurs, a jump rope team, and will culminate with a foam dance party.
"It's a fun and affordable day of discovery for all ages," said Neva Cole, CMNH Communications Director. Admission into the Fest, which takes place inside the museum and outside in the adjacent Henry Law Park, is by a suggested $5 per person donation. Pre-paid donations can be made online, but are not required to enjoy the Fest.
Some Makers will be set-up inside the Children's Museum of New Hampshire's many unique exhibit spaces, like Laura and Sarah from the Creative Guts podcast, or Zach Umperovitch, the Rube Goldberg machine expert. Some Makers will be outside in the museum's Play Patio, like volunteers from Seacoast Permaculture offering bites of wild edible plants or helping to build bug motels. Some makers will be out in the park like volunteers from the Portsmouth Naval Shipyard helping to drive SeaPerch robots around a huge pool. Some Makers will be performing on the stage like Patti and the Pop Tarts musical ensemble. And some Makers will be roaming inside and out, like Star Wars cosplayers from the 501st New England Garrison and a life-size dinosaur puppet from Sages Entertainment. Fat Pockets food truck will be parked along Washington Street and serving authentic falafel pockets.
The education team at CMNH also offers up several drop-in activities and challenges like Tile Tie Dye, a Parachute Challenge, a Bubble Bin, and make-and-take upcycle stamps.
The Children's Museum of New Hampshire, open since 1983, is an award-winning museum featuring two floors of hands-on exhibits for kids ages birth to age 12. The museum's mission is to actively engage families in hands-on discovery. "The NH Maker Fest is just one way we offer up hands-on fun to our visitors," shared Xanthi Gray, CMNH Education Director. "It's fun to mix it up for a day-long event, and invite all ages to take part in the discovery. We hope to see just as many adults as kids enjoying the Fest-ending Foam Dance Party." The Foam experience will be provided by another Fest Maker, Sages Entertainment.
The Museum would like to thank it's 2024 NH Maker Fest Sponsors including Breezeline, NHPBS, Granite State Development Corporation, The State of New Hampshire on behalf of the UNIQUE College Investing Plan, Sprague, Albany Engineered Composites, Chinburg Properties, Eversource, QA Cafe, Novocure, Beswick Engineering, Calling All Cargo, and Martel Plumbing & Heating.
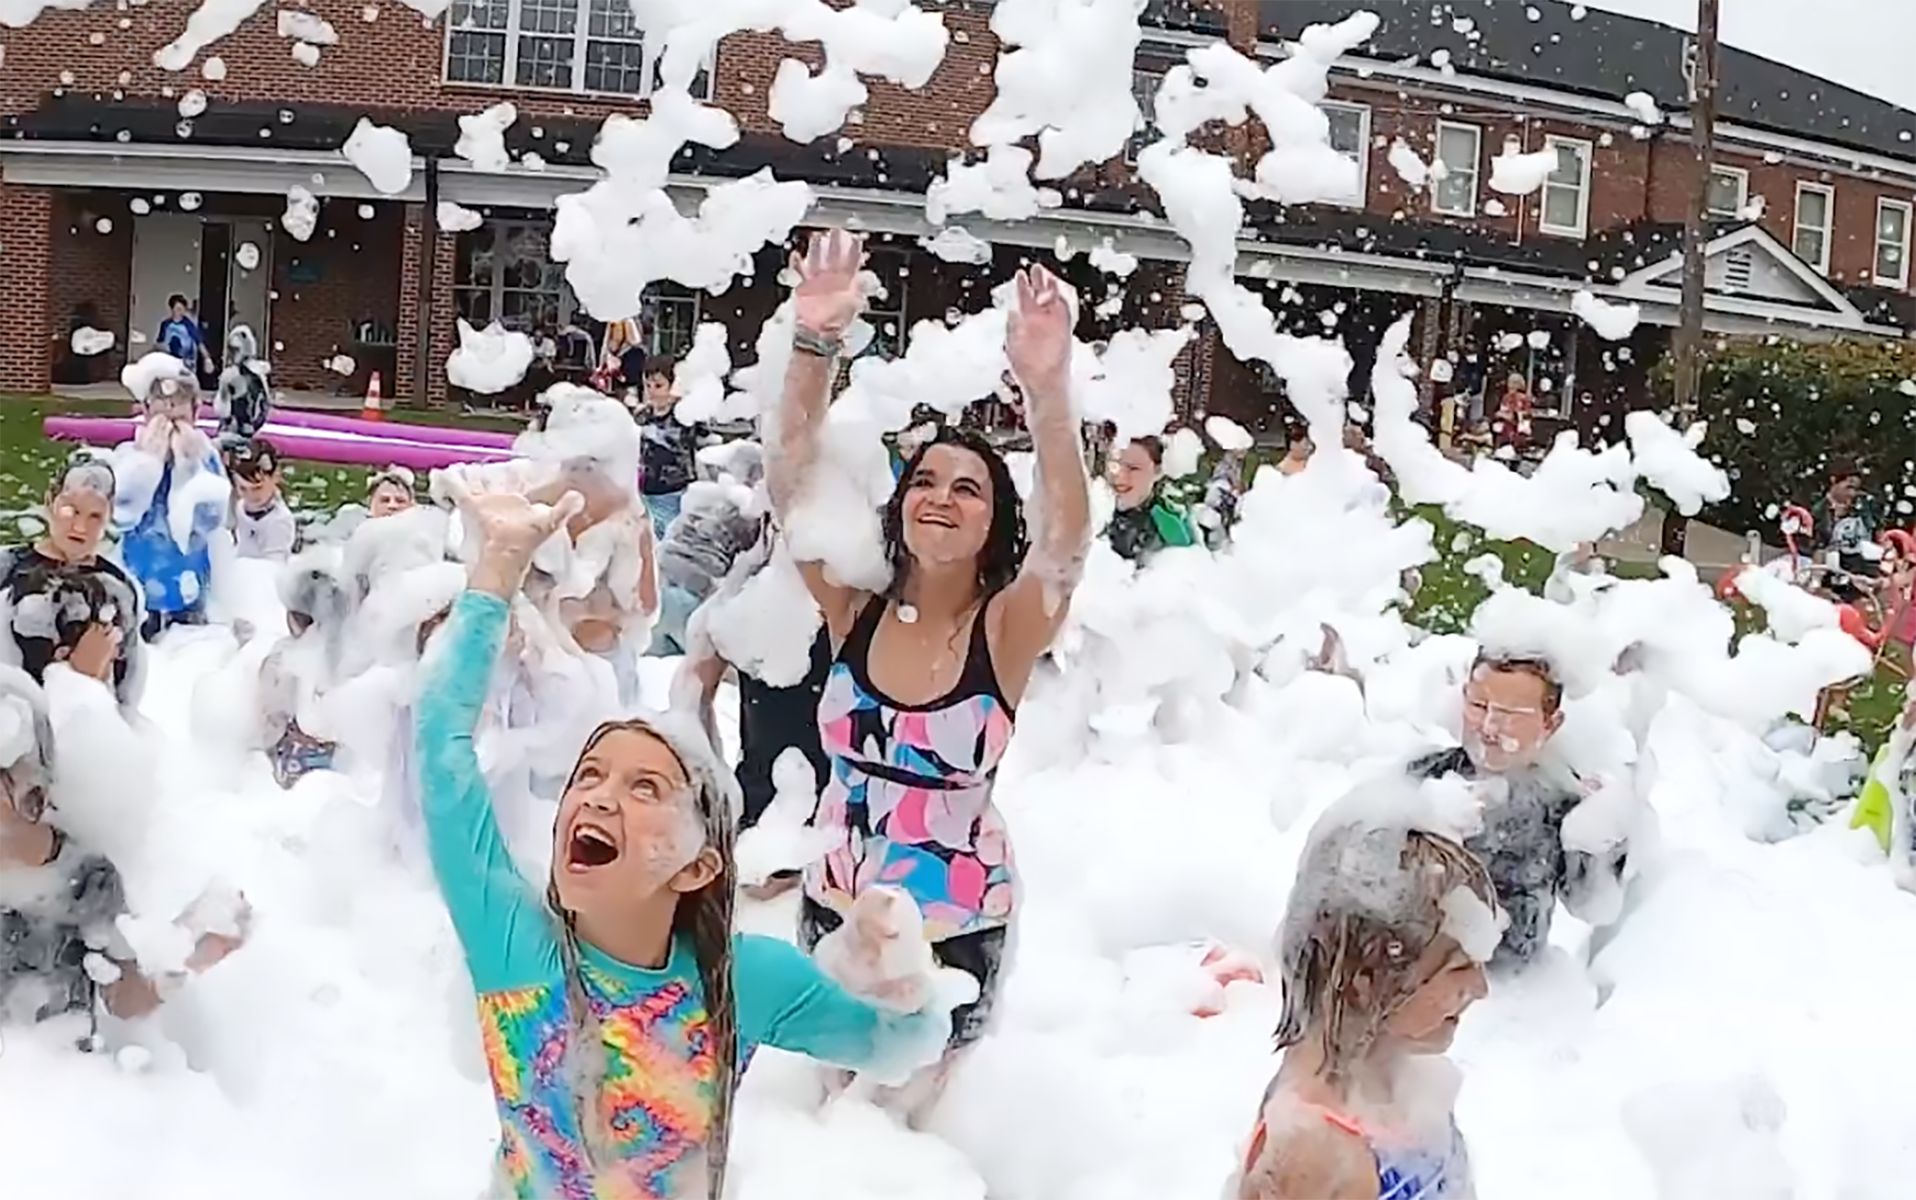
IMAGE: The day-long NH Maker Fest on Saturday, June 1, 10am-3pm will culminate in a Foam Dance Party provided by Sages Entertainment outside the Children's Museum of New Hampshire in downtown Dover. Photo courtesy of Sages Entertainment.
Celebrating Black History Month With Art
Did you know that there is a reason we celebrate Black History Month in February? It was decided in 1976 by President Gerald Ford to coincide with Abraham Lincoln and Fredrick Douglas’ birthdays. Both have long been aligned with and celebrated in Black communities for their efforts as abolitionists. Black History Month is a great time to use play based learning activities to discuss prominent people in history.
In the Muse Art Studio at The Children’s Museum of New Hampshire, crafts inspired by black artists are available to make, but they are always easy and fun to replicate at home!
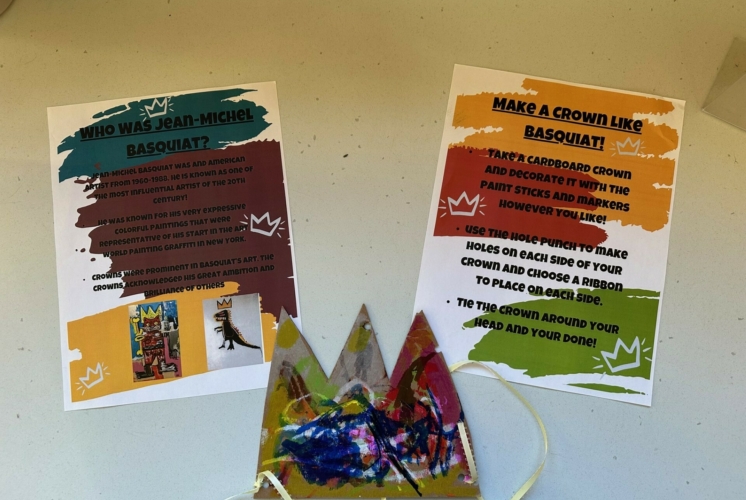
Jean-Michel Basquiat was an American artist who lived from 1960-1988. He is known as one of the most influential artists of the 20th century! He was known for his very expressive and colorful paintings that were representative of his start in the art world painting graffiti in New York.
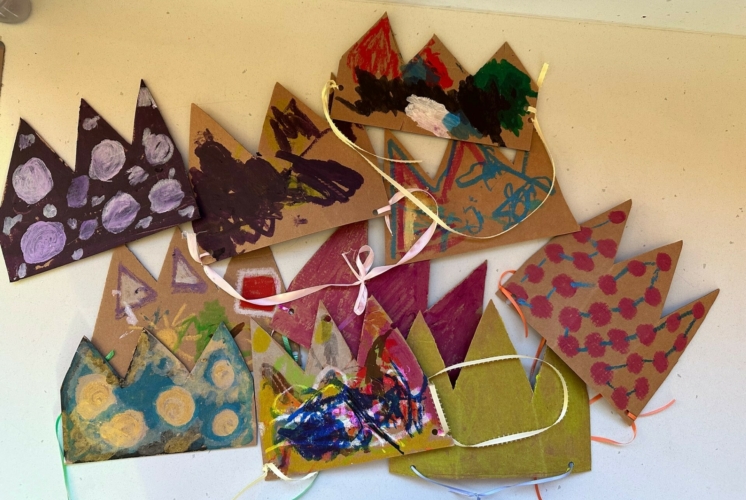
Crowns were a very prominent feature in a lot of Basquiat’s art. The crowns acknowledged his great ambitions in the art world and the brilliance of other artists and people in his life.
You can make your own version of a Basquiat crown at home with a few craft supplies:
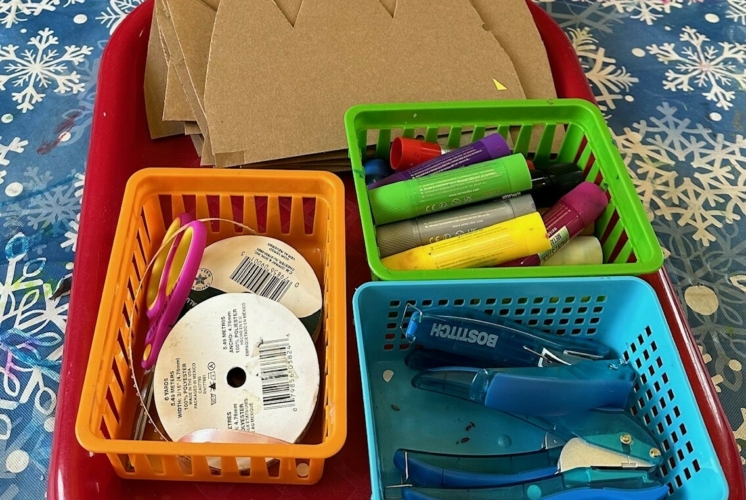
Cardboard (cut into crown shape)
Ribbon
Hole punch
Scissors
Paint sticks (or something to color with. Markers, paint, crayons, etc)
Glitter (optional)
Using the cardboard cutout of the crown, color it however you like! This is your chance to make something bold and colorful like Jean-Michel, so go wild!
Use the hole punch to make holes on each side of the crown and tie the ribbon through each side so it fits around your head.
When you're done you’ll have your own crown to wear and display like the artist you are!
If you want to read more about Jean-Michel Basquiat:
http://tinyurl.com/ysde5mu2 The Life of / La Vida de Basquiat
Who Was Basquiat? Made For Kids!
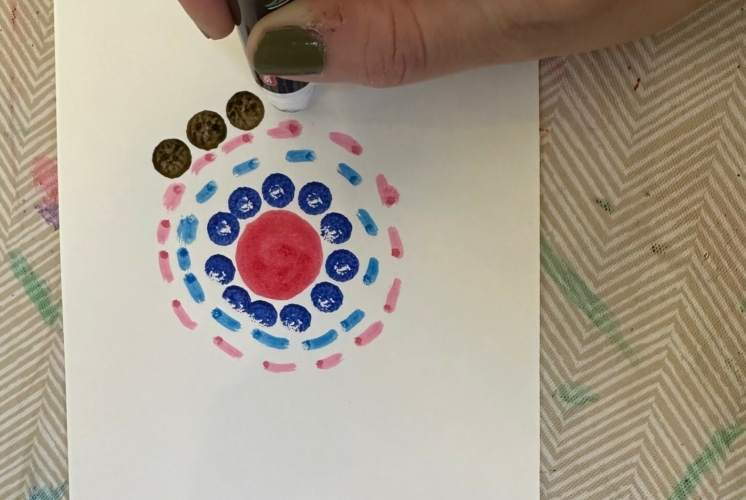
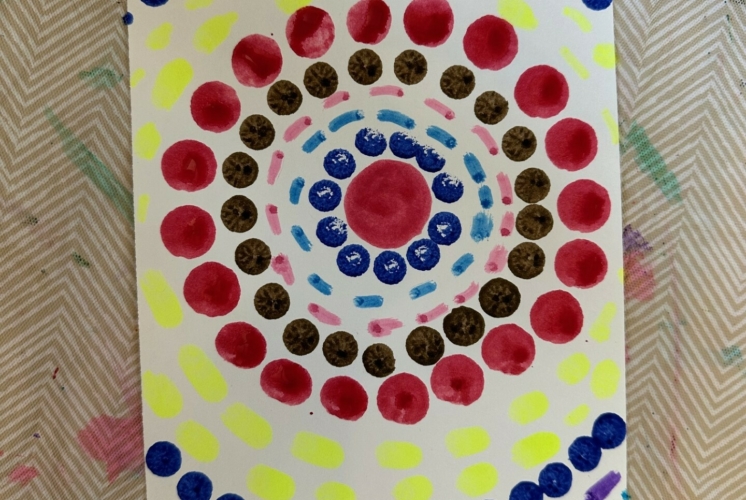
Alma Thomas was a teacher for thirty-five years and the first black American woman to receive a fine arts degree. During her teaching career she created art but is most well known for the colorful expressionist paintings she did after retiring. Her creativity was inspired by science and nature! She would ask her students to look closely at nature to find the patterns to help them make art that made them happy.
The type of art she is most famous for is called a color field. Color Field is a type of artwork in which painters use large shapes of colors to express themselves.
You can make Alma Thomas inspired color fields at home with some easy to find craft supplies.
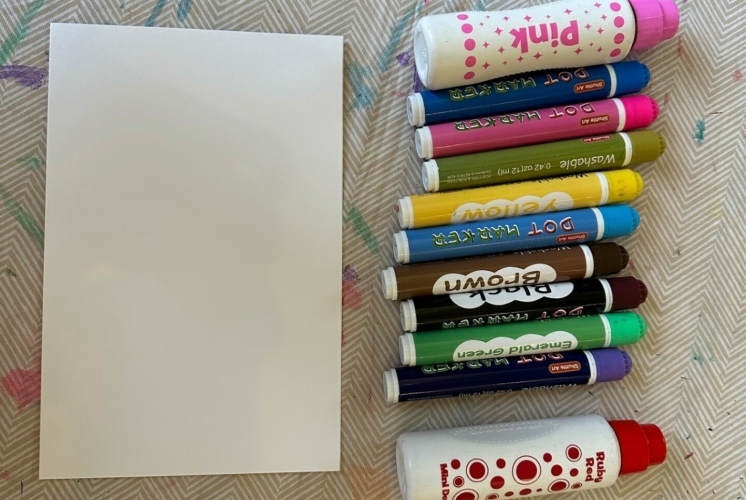
Dot markers (If you don’t have dot markers paint and cotton swabs will work)
Paper
Using the dots make large shapes like a circle or square and then pick a different color to make the same shape again. Repeat the process until you've filled your paper!
If you want to read more about Alma Thomas:
http://tinyurl.com/yckejvby Ablaze with Color: The Story of Painter Alma Thomas
Alma Thomas: Your New Favorite Artist
CMNH Play Based Learning Tips
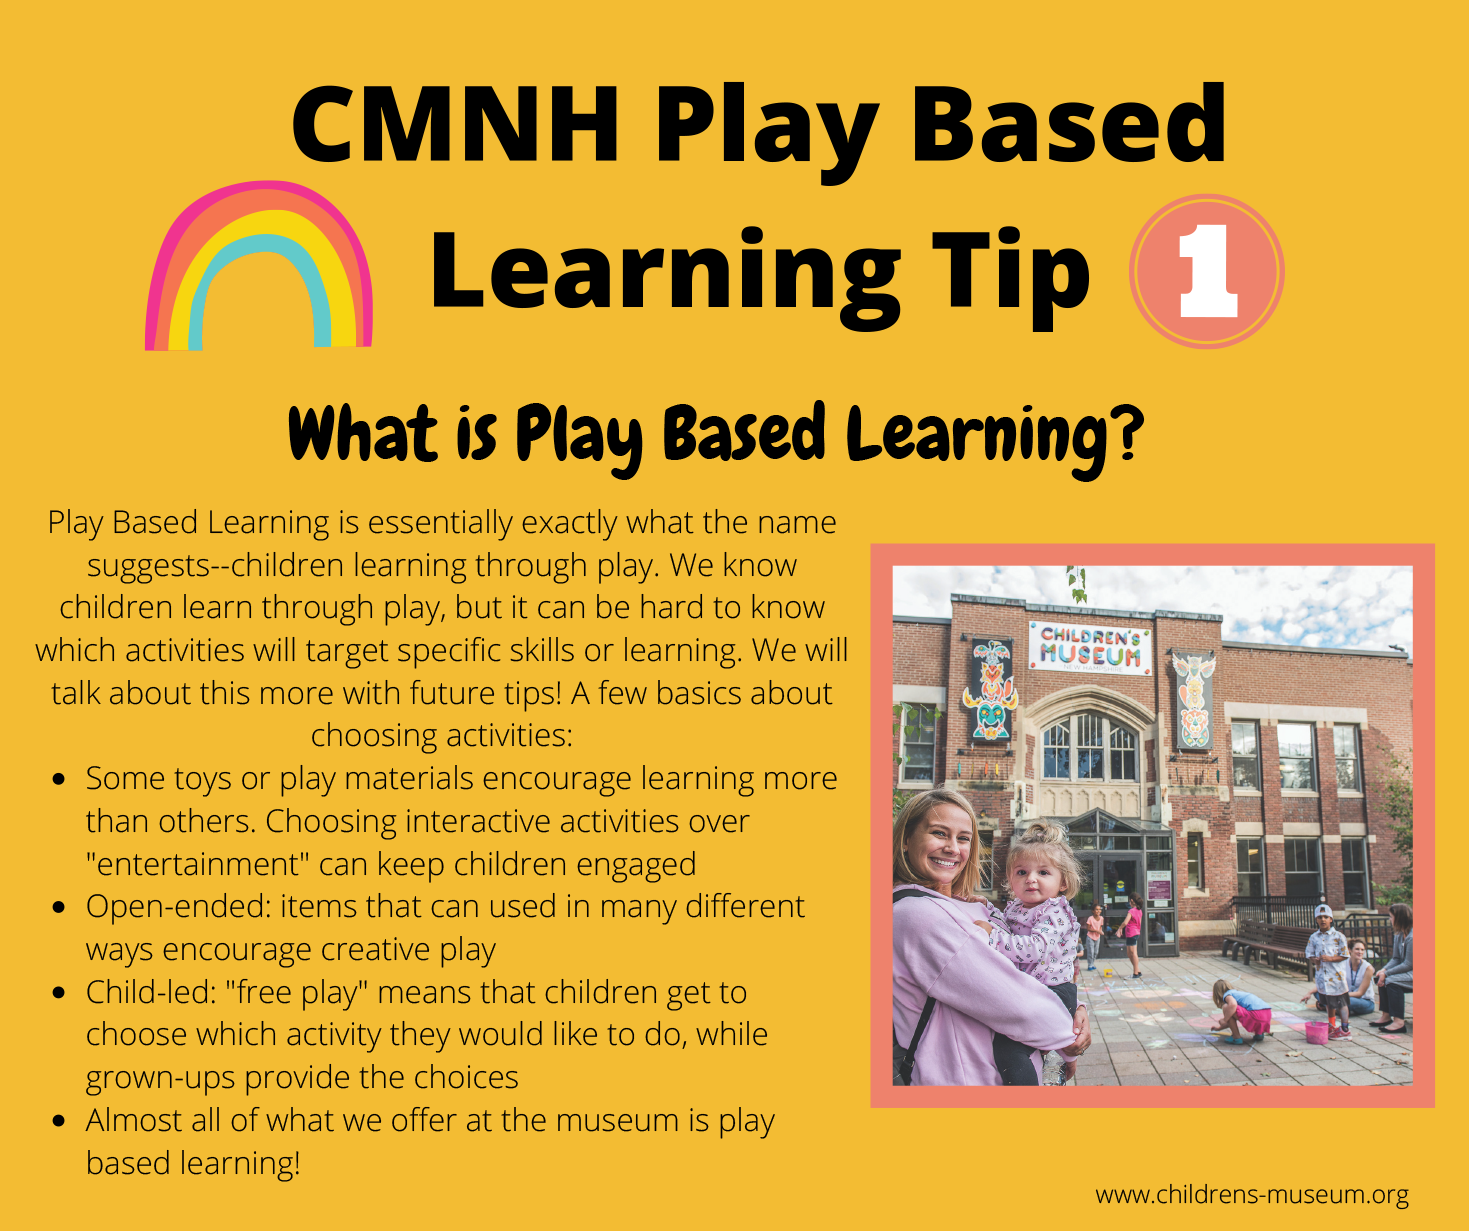
At the Children's Museum of New Hampshire we've been inviting children to engage in hands-on Play Based Learning since we opened in 1983. However, we realize it's not as easy in a classroom or at home. Each week we will be sharing Play Based Learning tips to help caregivers and teachers encourage play!
You can see all the PBL tips here on our website, or follow us on Pinterest, or subscribe to YouTube.
Play Based Learning: An Introduction
Why Play Based Learning is So Important
Books Alive: Bruce the Bear puppet
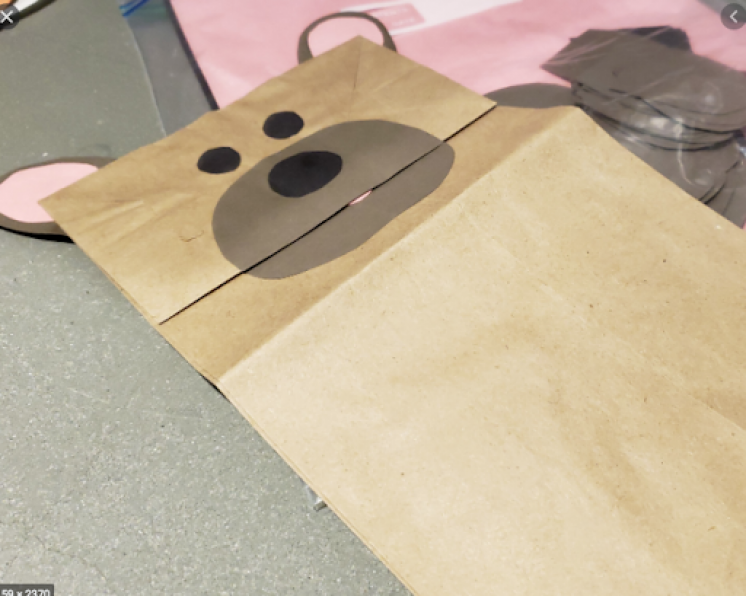
Make a Bruce the Bear bag puppet!
Bruce the Bear was our special guest for Books Alive & Story Explorers this month. We read “Mother Bruce” and enjoyed the story of Bruce mothering a group of baby goslings!
There are lots of other Bruce the Bear books by local Maine author Ryan T. Higgins -you can check them out at your local library and learn about Bruce’s other adventures!
To make your own Bruce the Bear puppet to bring on adventures, follow these instructions:
Materials Needed:
- Small paper bag
- Two small paper circles (for his ears!)
- One paper triangle or circle (for his nose!)
- Glue or tape
- Markers or crayons
Instructions:
- Place your paper bag on your work surface so that the square bottom is facing you and turned upwards (This will be the head/mouth of your puppet!)
- Use your glue or tape to attach the ear and nose pieces
- Decorate your puppet with markers or crayons!
FoodWorks: Jack-o-lantern Mini Pizzas
Happy Fall! This month for FoodWorks we show you how to make an easy lunch or hearty afterschool snack: English Muffin Pizzas! What’s great about this recipe, is that older children can safely make them independently using a toaster oven. Adding the jack-o-lantern face makes this snack fun and creative- it may even get children to try toppings they may not otherwise try! The FoodWorks program is a partnership between the museum and Hannaford supermarkets to provide healthy, family friendly recipe ideas and activities.
Ingredients:
- English Muffins- try whole wheat or whatever kind your family prefers
- Sliced cheese - or you can use shredded cheese- we chose orange cheese!
- Pizza sauce, your favorite tomato sauce
- Optional toppings: black olives, green or red peppers, pepperoni
You will also need: a cup or round cookie cutter, paring knife, and a spoon
Recipe:
This is almost too easy to call a recipe, but we will walk you through making the jack-o-lantern faces! Children can help assemble these, and they cook quickly in a toaster oven.
- Cut the english muffins in half
- Use a spoon to add your favorite pasta or pizza sauce to the english muffins
- Take one slice or orange cheese, and use a cup to press into it a circular shape. You can also use a round cookie cutter for this step if you have one
- This step needs some help from a grown up: carefully cute triangles for eyes, and a mouth shape out of the cheese
- Alternatively: cut up some ingredients ahead of time, like peppers, olives, and pepperoni, and children can create the jack-o-lantern face on their own pizzas using either sliced or shredded cheese
- Bake in the oven at 375 degrees for 10-12 minutes, or cook in the toaster oven for about 10 minutes (toaster oven settings vary, so it’s a good idea to check and be sure they do not overcook)
Enjoy!
Alternatives and Variations:
Here are some links to recipes for Jack-O-Lantern Pizzas using various methods and ingredients:
- Pumpkin Pizza Recipe From Pillsbury -this recipe uses a similar method to ours, but they use pepperoni to make the face, and add basil for a pumpkin stem
- Jack-O-Lantern Pizzas From Taste of Home -this recipe adds some ground beef for protein, and they use shredded cheese and olives and peppers to make the faces
- Jack-o-lantern Pizzas Using Pitas From Land-o-Lakes - This recipe uses pitas for a base instead of english muffins, which is a good option for anyone who does not like english muffins.
- If your family does not prefer english muffins, try using pitas like the recipe above, or another pre-made crust that would be quick and easy to assemble.
- Some of the recipes show ideas to make a cat, vampire, or a monster face on your pizzas. These are so fun for Halloween- Enjoy!
Spooky Sparks
by Meredith Brustlin, CMNH Educator
Materials Needed:
- Oven safe dish - reusable or disposable aluminum
- Steel wool
- 9V battery
- Jug of water - just in case!
Instructions & Safety:
- Since this activity does produce smoke, you may want to set-up outside. Just be sure if you do this experiment outside that it is not a windy day.
- I did this experiment inside my house several times and there was not enough smoke to set off any smoke detectors! HOWEVER I had coarse grade steel wool so the circuits & smoke were far less significant. If you have FINE grade steel wool, do this experiment outside.
- If you have young scientists--do this experiment as a demonstration (“I’m going to do it, and you get to watch!”)
- If your scientists are older, they can do this experiment but make sure they are closely supervised.
- The steel wool produces sparks & fire
- The 9V battery will eventually get fairly warm to the touch.
Set-up:
- Pull apart your steel wool so that it is in a very thin layer
- Place the steel wool into your oven safe dish or container
- Place the battery and jug of water nearby.
Activity:
- Take time at the beginning of this experiment--whether you are doing it as a demonstration or young scientists are participating--to discuss safety.
- Ask scientists what they see. Invite them to feel the steel wool. What does it feel like? Does it remind them of anything?
- Explain that today you are going to make spooky sparks by creating circuits within the steel wool.
- Use the battery to gently touch down on the steel wool---watch as sparks fly through the steel wool creating a chemical reaction!
- Keep creating circuits! Eventually you will “use up” all the steel wool and the circuits won’t work anymore. Also be conscious of the battery warming up--it’s working hard!
The Science:
We are seeing a chemical reaction take place in this experiment, Anytime something burns, we are seeing a chemical reaction! This type of chemical reaction is called a combustion reaction.
You are seeing the steel wool react with oxygen and in this case it is forming iron oxide.
We were also seeing circuits at work! When both battery terminals touch the steel wool, the electrons from the battery move rapidly through the steel wool and make a complete circuit. This electrical current is heating up the wire (to ~700 degrees!) and this heat causes the iron to react with the oxygen surrounding the little strands of steel wool. This reaction is what causes the sparks (homeschoolscientist.com).
Bonus Activity: Fizzy Pumpkins
Materials Needed:
- Baking Soda
- Water
- Red & yellow food coloring
- Small piece of cardboard
- Tray or cookie sheet/pan
- Pipette or paintbrush
- Small cup of vinegar
Set-up:
- Make your fizzy pumpkin!
- Measure out about ½ a cup of baking soda into a bowl
- Slooooowly add water until the baking soda comes together to form a moldable paste
- Add yellow and red food coloring to make orange and mix together
- Use your hands to shape the baking soda into a ball
- Push in the piece of cardboard in the top to look like the stem of a pumpkin
- **You can either make your pumpkin immediately before doing your experiment, or make it the night/several hours before**
- If you make it right before your pumpkin will be “mushy” but still hold its shape
- If you make it hours before doing the experiment, the baking soda will dry out and become hard as a rock!
To set-up your experiment area, put the pumpkin on a plate or tray and set the cup of vinegar and pipette/paintbrush nearby.
Activity:
- Invite young scientists into the experiment area
- Ask them what they see!
- If you’d like, you can tell them they can carefully touch the pumpkin with one finger and guess how it was made/what material was used to make it.
- Introduce the vinegar and pipette/paintbrush and tell young scientists to carefully drip some vinegar onto their pumpkin
- What happens?!
- Keep playing until the pumpkin turns into pumpkin mush!
The Science:
This is a classic acid and base experiment. When vinegar (an acid) interacts with baking soda (a base) we get a chemical reaction. In this case we’re producing a gas (carbon dioxide) and lots of fun fizzing and bubbles!
Everyone Counts!
By Paula Rais, CMNH VP of Development and Community Engagement
Once every 10 years, the US Constitution mandates that every person in the United States is counted. Census data guide how more than $675 billion of federal funding is distributed to states and communities for schools and education, healthcare and services for families, children and older adults. The results of the census also inform funding decisions for programs like Head Start, SNAP, and Medicaid. Young children are often undercounted, which can affect important programs in your community.
Make sure you and your family get counted! Find out how here >>
The Census Bureau is required by law to protect your information; so all your answers are confidential and private.
FoodWorks - Fall Harvest Snacks Featuring Apples
by Colie Haahr, CMNH Educator
September is a great time of year to make the most of the summer harvest, and to start enjoying classic fall flavors. For the September Food Works recipes, we tried two different kid-friendly apple recipes. The Food Works program is a partnership between Hannaford Supermarkets and the Children’s Museum of New Hampshire that allows us to share healthy, family friendly recipes!
Today we are sharing two recipes for Fall treats: Apple “Donuts” and Healthy Caramel Yogurt Dip. Both recipes are easy to make, and are perfect for making the most of healthy and tasty fall apples! The caramel yogurt dips tastes so much like real caramel, and it’s made from yogurt with less sugar and fat than a typical caramel dip. The apple donuts allow kids to choose their own toppings for apples, and can add a few other food groups and some protein to a healthy after school snack.
Both of these recipes allow kids to take part in creating them, but it is helpful if a grownup does most of the prep work, especially cutting up the apples. For the Apple “Donuts” you will need apples, yogurt or nut butter, and various toppings such as fruit, nuts, and granola. For the Caramel Yogurt Dip you will need yogurt, maple syrup, brown sugar, salt and vanilla extract.
APPLE “DONUTS*
**note, these are NOT donuts, and you can always opt to call them something else if this will cause confusion and/or require you to provide real donuts out of thin air! We have also seen these called “apple cookies,” but this could create a similar problem with kids! Apple Frisbees?? You decide on the best name!!
- Core apples, and cut into slices so that the shape is similar to a donut with a hole in the middle
- Prep toppings ahead: blueberries, raspberries, chocolate chips, granola, nuts, and set up for kids to portion out
- Prep yogurt for kids to spread with a spoon or spatula
- Use the yogurt to “frost” the apple donut. You can also use a nut butter of your choice, or both
- Add the toppings to the apple donut, and enjoy! These can be stored in the fridge, but are best eaten fresh
A variety of other ideas for this recipe from the Food Network: https://www.foodnetwork.com/recipes/apple-donuts-3838711
HEALTHY CARAMEL YOGURT DIP
(Makes about 1 cup)
Ingredients:
One container yogurt (We used So Delicious coconut milk yogurt) (170g)
1/8 tsp salt
2 tbsp pure maple syrup
¼ cup brown sugar
1 tsp pure vanilla extract
- Put maple syrup, salt and brown sugar in a microwave safe dish and microwave on high in 10-second intervals until brown sugar starts to dissolve (If you do not have a microwave, heat in a small saucepan until sugar dissolves—or you can skip this step and just add the additional ingredients!)
- Stir in vanilla extract and yogurt
- Allow to cool
- This will get thicker if you leave it in the fridge overnight
- Slice apples to dip in the caramel dip and enjoy!
- Store leftovers in the fridge for up to four days.
Original Source: http://chocolatecoveredkatie.com
