CMNH Receives Funding for Garden from Whole Kids Foundation
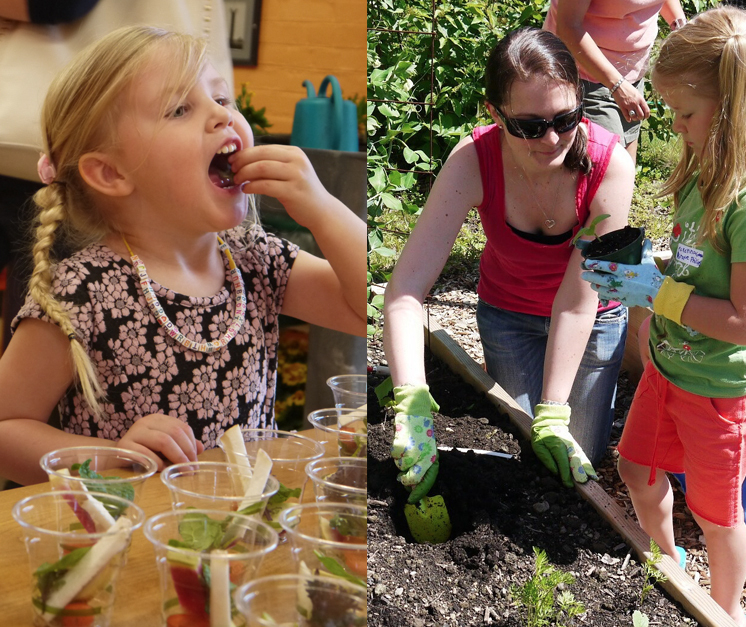
The Children’s Museum of New Hampshire (CMNH) has been awarded a $3,000 grant from Whole Kids Foundation to support the “CMNH Learning Garden - Edible Education” at its outdoor space. Whole Kids Foundation’s Garden Grant Program helps schools and organizations in the US, Canada and the UK connect students to real food through edible learning gardens aimed at improving children’s nutrition and wellness.
CMNH will use the grant to make needed improvements to the garden, after a year-long hiatus due to COVID, and for programming aimed at educating children about healthy food choices and the environment.
Whole Kids Foundation has awarded funding for over 6,000 edible education gardens. “We believe in the power of a garden as a learning space,” said Nona Evans, president and executive director of Whole Kids Foundation. “Every garden grant creates an opportunity for kids to learn more about where their food comes from, gain a deeper understanding of the connection between what we eat and how we feel, and put all of that learning into action as they make daily choices for meals and snacks.”
“We look forward to inspiring and educating children in our Learning Garden thanks to the support of Whole Kids Foundation,” said Jane Bard, CMNH President. “Actively participating in growing food is a powerful learning experience that we are happy to bring to our community of children.”
The new Whole Foods Market Portsmouth location is now open; located at 1600 Woodbury Ave. To learn more about the new store, click here.
Nonprofit organizations interested in requesting donations or support from Whole Foods Market can visit the Whole Foods Market Community Giving page here to learn more.
SPLASH! BRUSH! SQUISH!

Messy Play Celebrated in Children’s Museum of NH’s New Outdoor Play Patio
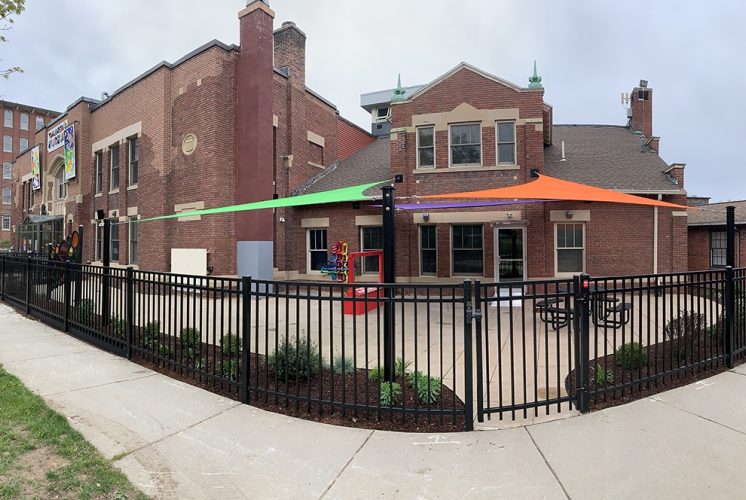
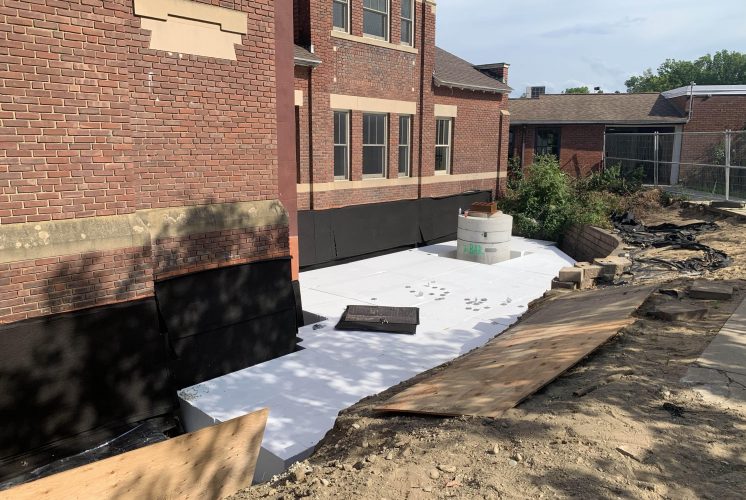
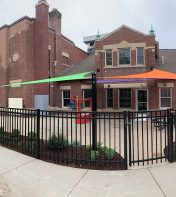
The Children’s Museum of New Hampshire is gearing up for a summer of messy outdoor fun with the opening of its new outdoor Play Patio exhibit. Opening to the public on Thursday, May 20, and in the works since 2018, it represents the Museum’s largest expansion since opening in Dover in 2008. The Play Patio will provide new opportunities for children to engage with materials that are challenging to offer inside the Museum, such as water, sand, paint and clay.
“We couldn’t be more excited about the opening of the Play Patio,” said Jane Bard, Museum President. “Families visiting the Museum are looking for ways to bring joyful and enriching experiences to their children’s lives while feeling connected to the community again after a long year of isolation. The Play Patio is a place for that to happen.”
Exhibit elements will include two sensory tables, a water circuit wall, oversized paint wall, chalk spinner, water painting, a color caster sculpture, a tube tones musical element and tables that will be used for picnicking in the future, but for now will be additional activity stations.
“The Play Patio couldn't have happened without generous support from our community, with funding coming from 19 different companies and foundations, as well as our members and donors. “We are very thankful to our lead donors whose contributions made this dream a reality,” shared Jane Bard, CMNH President. Those lead donors include Kennebunk Savings, Newburyport Bank, Wentworth-Douglass Hospital, Abbie F. Moseley Charitable Trust, McIninch Foundation, Samuel P. Hunt Foundation, and the Roger R. & Theresa S. Thompson Endowment Fund. Additional funding was provided by companies who supported the project through the Community Development Finance Authority: Highland Hardwoods, Alexander Technology Group, Northway Bank, Newburyport Bank, First Seacoast Bank, D.F. Richard Energy, Stinson Associates, Leone, McDonnell & Roberts, P.A., and the Seacoast Endodontic Associates. The museum also thanks ARQ Architects, S.W. Cole Engineering, Inc., Norm Fracassa of Fracassa Designworks and the City of Dover for their in-kind support.
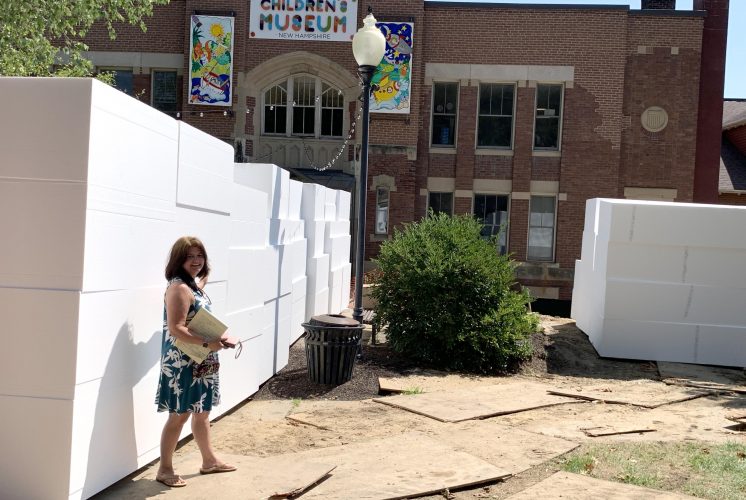
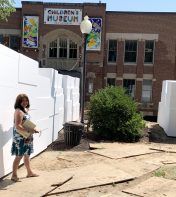
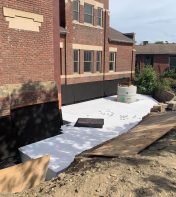
The Play Patio space, adjacent to the museum’s entrance, has gone through a big transition. “This area was originally a floor below grade and only accessible by a set of stairs,” shared Eric Erwin, CMNH Exhibits Manager. “We realized early on that in order to make the space physically accessible to all visitors, we would have to bring the area up to street level. With permission from the city of Dover, who owns the museum building, the area was filled with giant lightweight foam blocks and covered with recycled rubber tiles. A door was added from the Museum to the Play Patio for easy access to the space.”
“Originally, we were thinking this would be an outdoor picnic zone,” said Erwin. “But as our plans evolved, we realized this space had the potential to add new elements that our visitors have been asking for, like water play and messy art. A Water Circuit Wall is one way we’re adding an element for messy experimentation and fun. Kids can use a hand pump to push water through sluices to create waterfalls, and fill cups to create a cascading circuit,” said Erwin.
Another component using water is the “Evaporation Zone,” a 3-sided wall for brush painting with water. Young artists can also express themselves with washable paint on a giant double-sided paint wall and with chalk on a rotating chalk spinner.
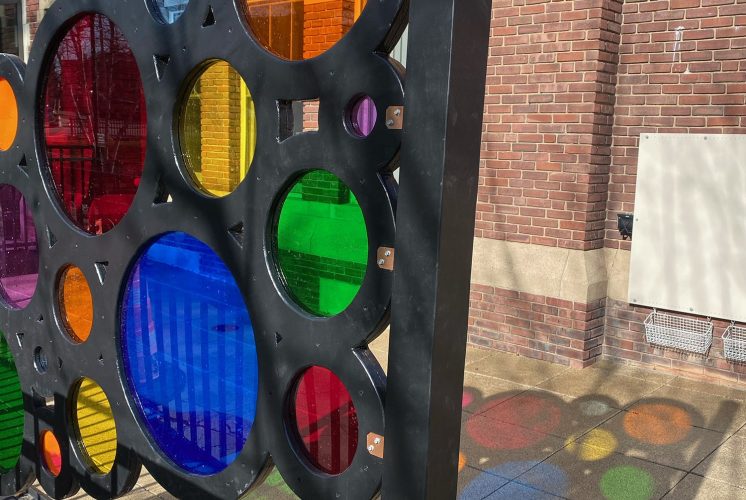
A giant Color Caster sculpture is installed with colorful circular lenses shading the ground in different locations throughout the day as the sun moves across the sky. “Beyond adding a whimsical sculpture to the Patio, the Color Caster is designed for shadow, color and light play and encourages visitors to look through the colored lenses to see the world around them ‘in a new light,” said Erwin, the sculpture’s creator.
Two sensory tables will provide endless opportunities for hands-on discovery. “The materials we put in the tables will change over time, but we’ll start by filling them with kinetic sand and tools for molding and creating designs in one, and water beads with hidden sea creatures in the other,” said Erwin.
Tube Tones is a series of connected PVC tubes that provide a musical element to the Play Patio. Visitors can pound out a musical beat in the manner of the Blue Man Group.
And even with all those other elements, there will still be room for picnic tables when families need to take a break and have a snack. “For the time being, these tables will be used as activity stations, but we look forward to the day when we can offer them as a picnicking area,” said Bard.
“Then of course there is a sink and hand dryer for easy cleanup before you return to the exhibits inside the museum,” said Erwin.
Access to the Play Patio will be included with museum admission, and will increase the museum’s capacity. “We’ve been looking forward to opening this space for many reasons, not least of which because it will allow more people to safely visit while we’re slowly reopening from the pandemic,” shared Jane Bard. The museum, which re-opened September 2020, is open with limited hours, requires online reservations prior to visiting, and requires everyone over the age of 24 months to wear a mask. “We’ve limited our play sessions to 20% of our capacity, so with this new space, we can increase the number of families we serve,” said Bard. Current Museum hours are Wednesdays and Sundays 9-11:30am and Thursdays, Fridays, and Saturdays 9-11:30am or 1-3:30pm.
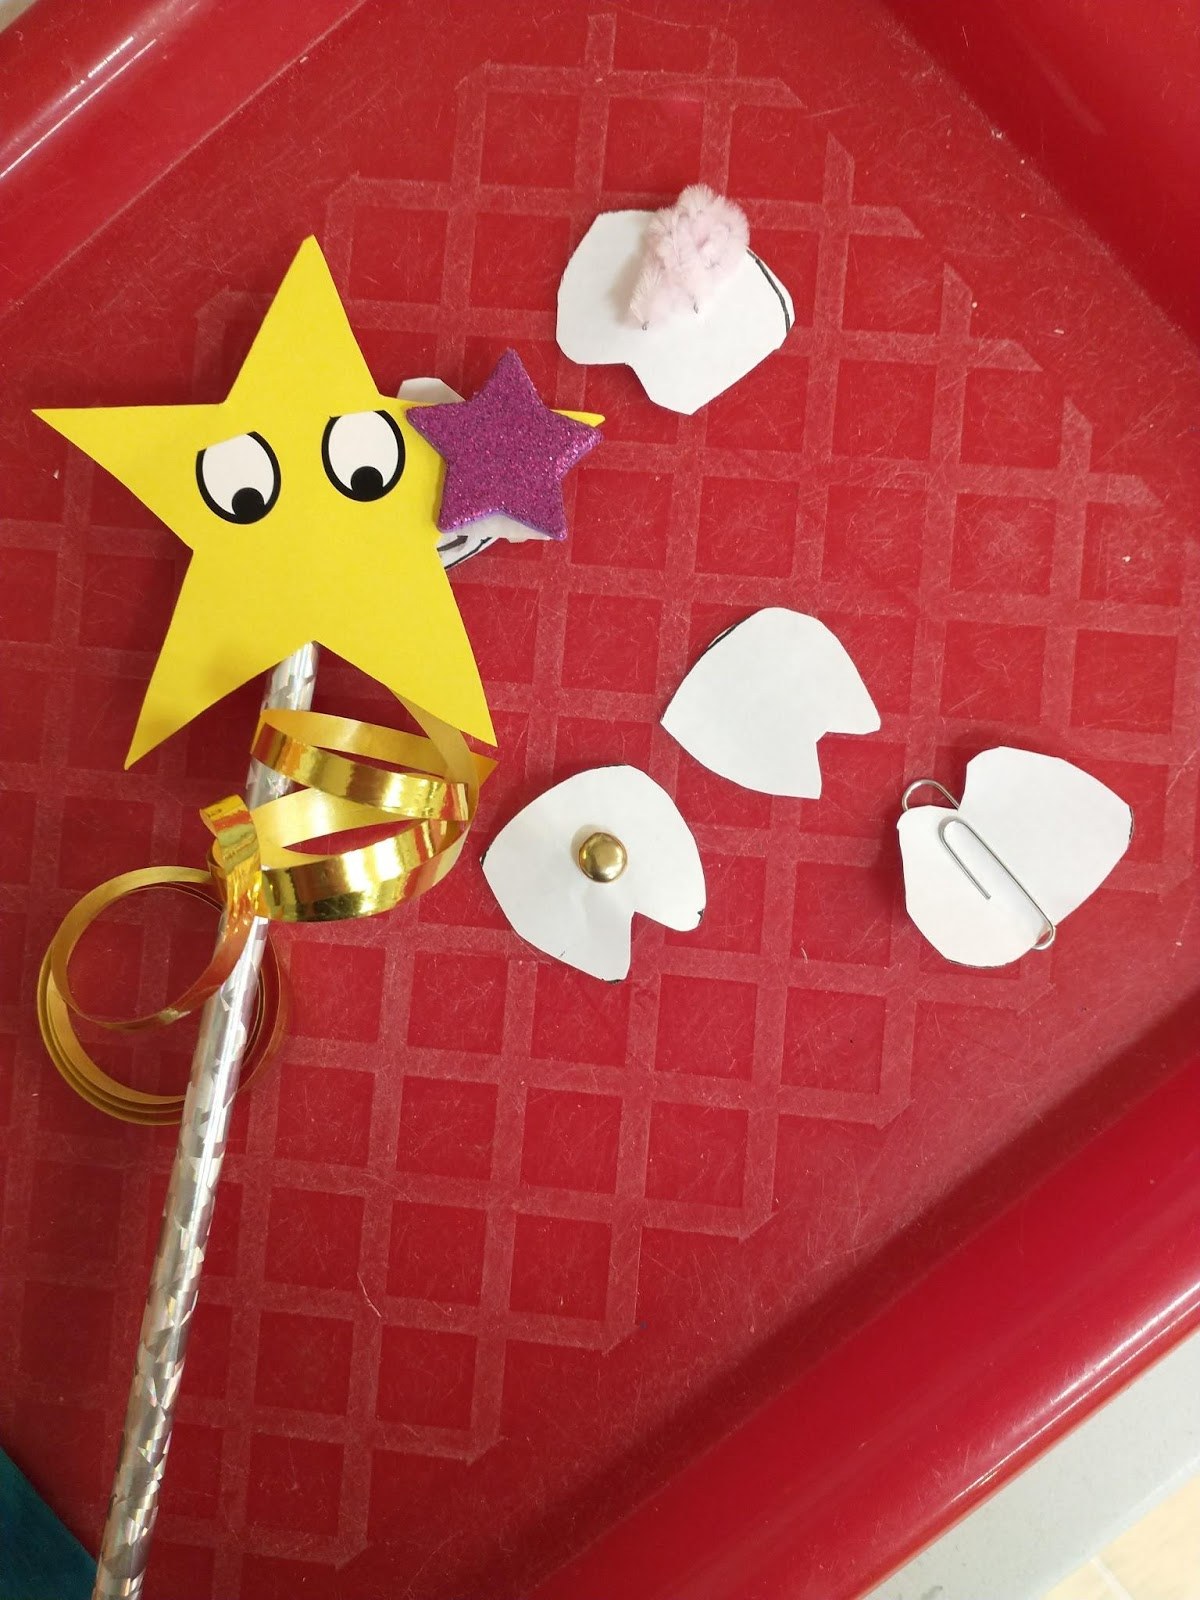
Make A Tooth Fairy Wand

We are celebrating Family Dental Health Month at the museum, and in this video shows you how to make a magnetic tooth fairy wand. Here's what you will need to make a magic wand at home:
Supplies needed
- Paper - cut out a star or tooth shape
- Markers or crayons
- Stickers (optional)
- Tape
- Scissors
- White paper for mini teeth
- Magnet
- Paperclips, brass fastener, or pipe cleaner
- Wand- pencil, craft stick, or chopstick
- Optional: ribbon to decorate
Steps:
- First decorate the top of the wand- you could make a paper star, tooth, or a shape of your choice. Use markers or stickers to decorate it
- Next tape the paper piece of the wand to a stick- this could be a pencil, craft stick, choo stick, dowel, or even a twig from outside!
- Add some colorful ribbon or streamers to your wand if you would like
- Now carefully tape a magnet to the back of your wand. You can test the magnet first to make sure it's strong enough to pick up a paper clip (or whatever metal object you are using)
- Cut out some mini teeth using white paper, and add a paperclip, pipe cleaner, or brass fastener to each tooth
- Try out your magic wand! Place the teeth on a flat surface, and use the magnet on your wand to try to pick them up.
At the end of the video we talk about a few of the dental health books we have at the museum that cover losing teeth! Here is another great selection put together by Scholastic.

Sunflower Exploration
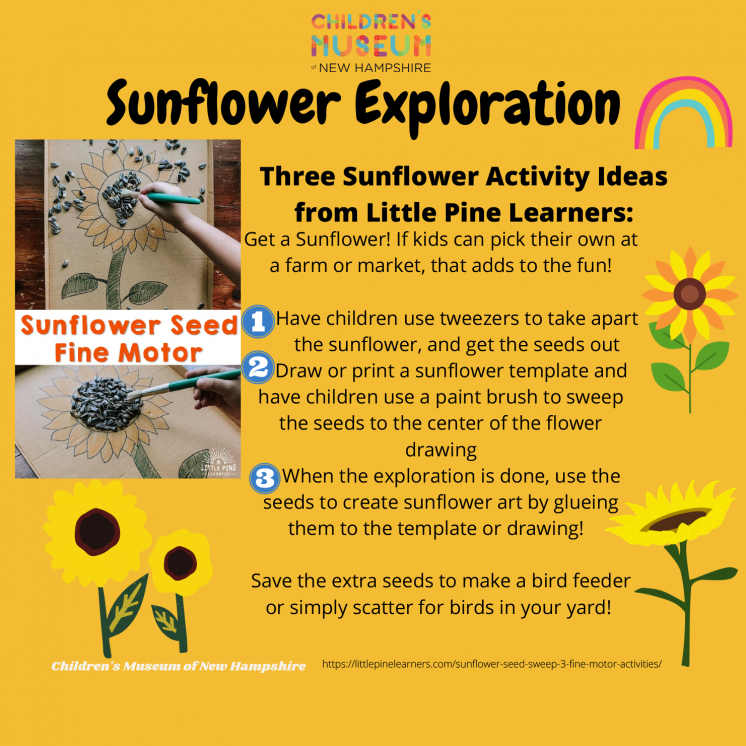
Three Sunflower Activity Ideas from Little Pine Learners
Get a Sunflower! If kids can pick their own at a farm or market, that adds to the fun!
- Have children use tweezers to take apart the sunflower, and get the seeds out.
- Draw or print a sunflower template and have children use a paint brush to sweep the seeds to the center of the flower drawing.
- When the exploration is done, use the seeds to create sunflower art by glueing them to the template or drawing!
Save the extra seeds to make a bird feeder or simply scatter for birds in your yard!
Learn more Play Based Learning tips here on our website, on Pinterest, or on YouTube.
Backyard Birding
Creating a Play Space at Home
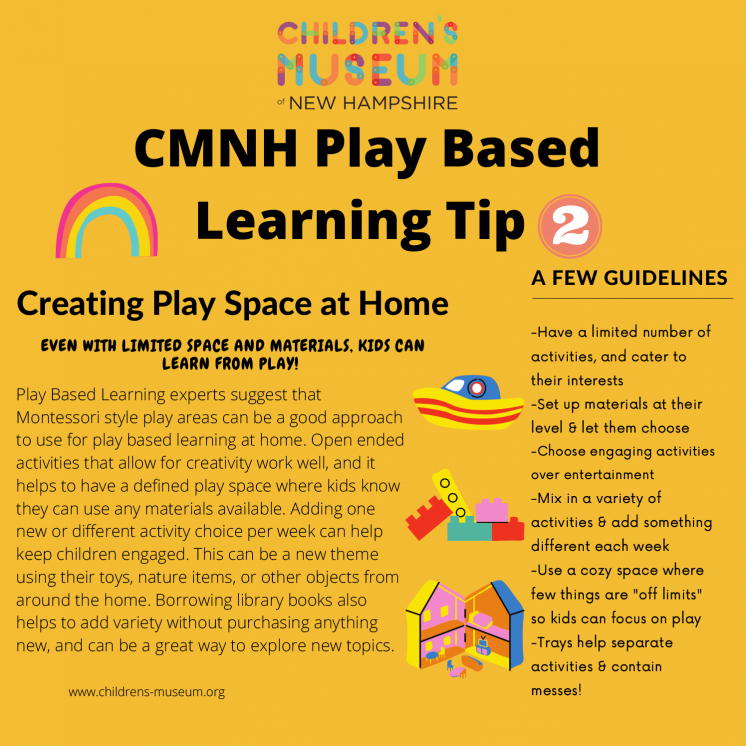
Even with limited space and materials, kids can learn from play!
Play Based Learning experts suggest that Montessori style play areas can be a good approach to use for play based learning at home. Open ended activities that allow for creativity work well, and it helps to have a defined play space where kids know they can use any materials available. Adding one new or different activity choice per week can help keep children engaged. This can be a new theme using their toys, nature items, or other objects from around the home. Borrowing library books also helps to add variety without purchasing anything new, and can be a great way to explore new topics.
A Few Guidelines
- Have a limited number of activities, and cater to their interests.
- Set up materials at their level and let them choose.
- Choose engaging activities over entertainment.
- Mix in a variety of activities and add something different each week.
- Use a cozy space where few things are "off limits" so kids can focus on play.
- Trays help separate activities and contain messes
Learn more Play Based Learning tips here on our website, on Pinterest, or on YouTube.
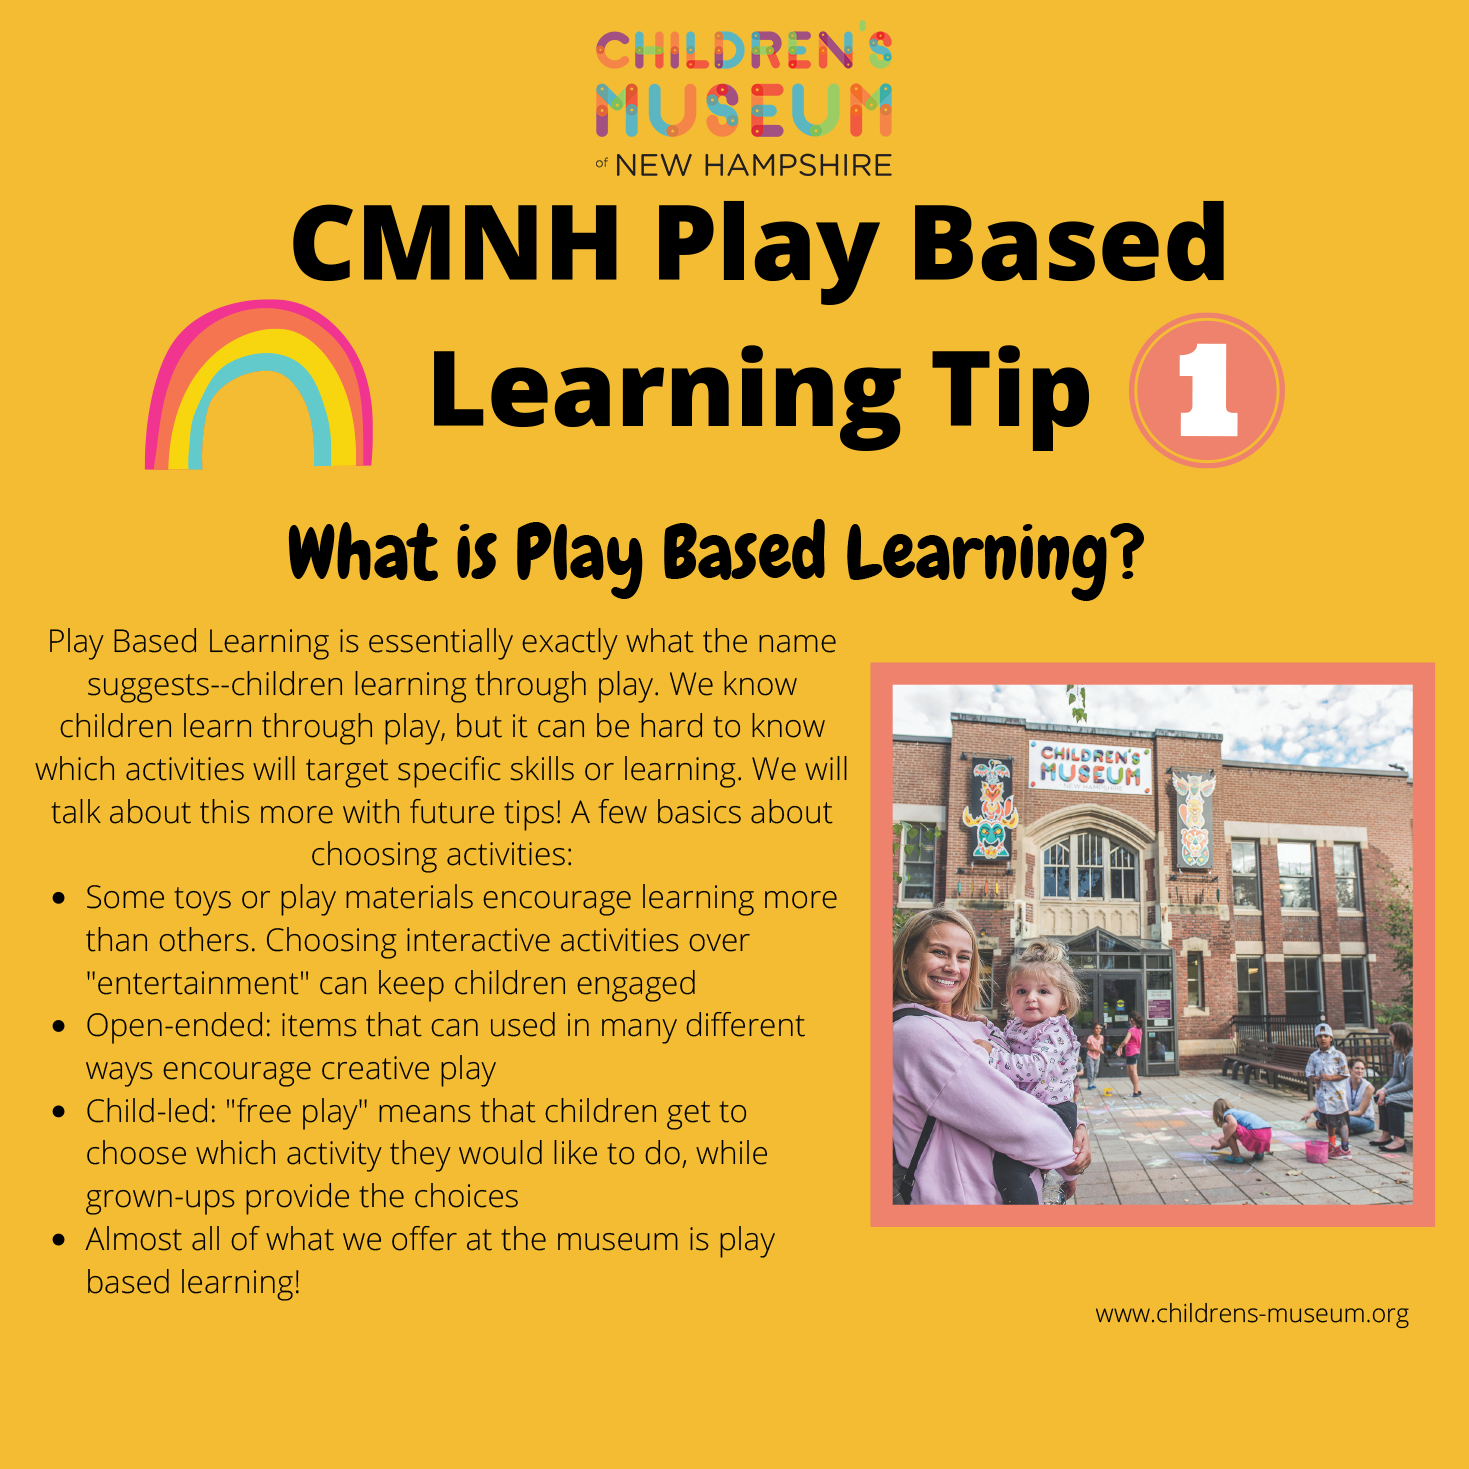
Why is Play Based Learning Important?
CMNH Play Based Learning Tips
At the Children's Museum of New Hampshire we've been inviting children to engage in hands-on Play Based Learning since we opened in 1983. However, we realize it's not as easy in a classroom or at home. Each week we will be sharing Play Based Learning tips to help caregivers and teachers encourage play!
You can see all the PBL tips here on our website, or follow us on Pinterest, or subscribe to YouTube.
Play Based Learning: An Introduction
Why Play Based Learning is So Important
Books Alive: Bruce the Bear puppet
Make a Bruce the Bear bag puppet!
Bruce the Bear was our special guest for Books Alive & Story Explorers this month. We read “Mother Bruce” and enjoyed the story of Bruce mothering a group of baby goslings!
There are lots of other Bruce the Bear books by local Maine author Ryan T. Higgins -you can check them out at your local library and learn about Bruce’s other adventures!
To make your own Bruce the Bear puppet to bring on adventures, follow these instructions:
Materials Needed:
- Small paper bag
- Two small paper circles (for his ears!)
- One paper triangle or circle (for his nose!)
- Glue or tape
- Markers or crayons
Instructions:
- Place your paper bag on your work surface so that the square bottom is facing you and turned upwards (This will be the head/mouth of your puppet!)
- Use your glue or tape to attach the ear and nose pieces
- Decorate your puppet with markers or crayons!

Membership Expiration Dates
Dear CMNH Member,
Your CMNH Membership has been extended to account for covering the time that the museum was fully closed due to COVID19. We have updated all membership records in our database to reflect this extension. When you visit the museum please have your membership card (even if it says it’s expired) OR a photo ID and our staff can verify your information.
*Since all of our membership information is kept digitally there is no need to reprint membership cards as your record has been corrected in our system*
All Passport Members: When visiting any ASTC or ACM museums please keep this email as well as your old membership card as proof of your correct expiration date and reciprocal membership status.
If you were given a Gift Membership: If you happened to be gifted a Membership to CMNH, but haven't used it yet (ie, you have the gift membership certificate, but haven't visited for whatever reason) your membership hasn't been activated yet, and won't be until the first time you come in and present the certificate. So once you do visit, the expiration date will become one year from the date that you visit for the first time.
Thank you for being a member and supporting the museum!
If your Membership expired at the end of:
March 2020 - Your new expiration date was end of September 2020
April 2020 - Your new expiration date was end of October 2020
If your Membership expires at the end of:
May 2020 - Your new expiration date is end of November 2020
June 2020 - Your new expiration date is end of December 2020
July 2020 - Your new expiration date is end of January 2021
August 2020 - Your new expiration date is end of February 2021
September 2020 - Your new expiration date is end of March 2021
October 2020 - Your new expiration date is end of April 2021
November 2020 - Your new expiration date is end of May 2021
December 2020 - Your new expiration date is end of June 2021
January 2021 - Your new expiration date is end of July 2021
February 2021 - Your new expiration date is end of August 2021
March 2021 - Your new expiration date is end of August 2021
April 2021 - Your new expiration date is end of August 2021
May 2021 - Your new expiration date is end of August 2021
June 2021 - Your new expiration date is end of August 2021
July 2021 - Your new expiration date is end of August 2021
Any memberships purchased in or after September 2020 will have the normal 12 month length of their membership.